Monday, July 23, 2012

Green (unripe and already picked) Peach Relish

There's no tutorial tonight, folks.  The concept for the recipe was thought over, a call made to X's mom to get the base recipe, the ingredients processed, and the relish cooked all within an hour.  The camera wasn't in the kitchen until after it was over.

Waiting for purchased peaches to ripen has never been
a virtue.  I made something of them tonight.


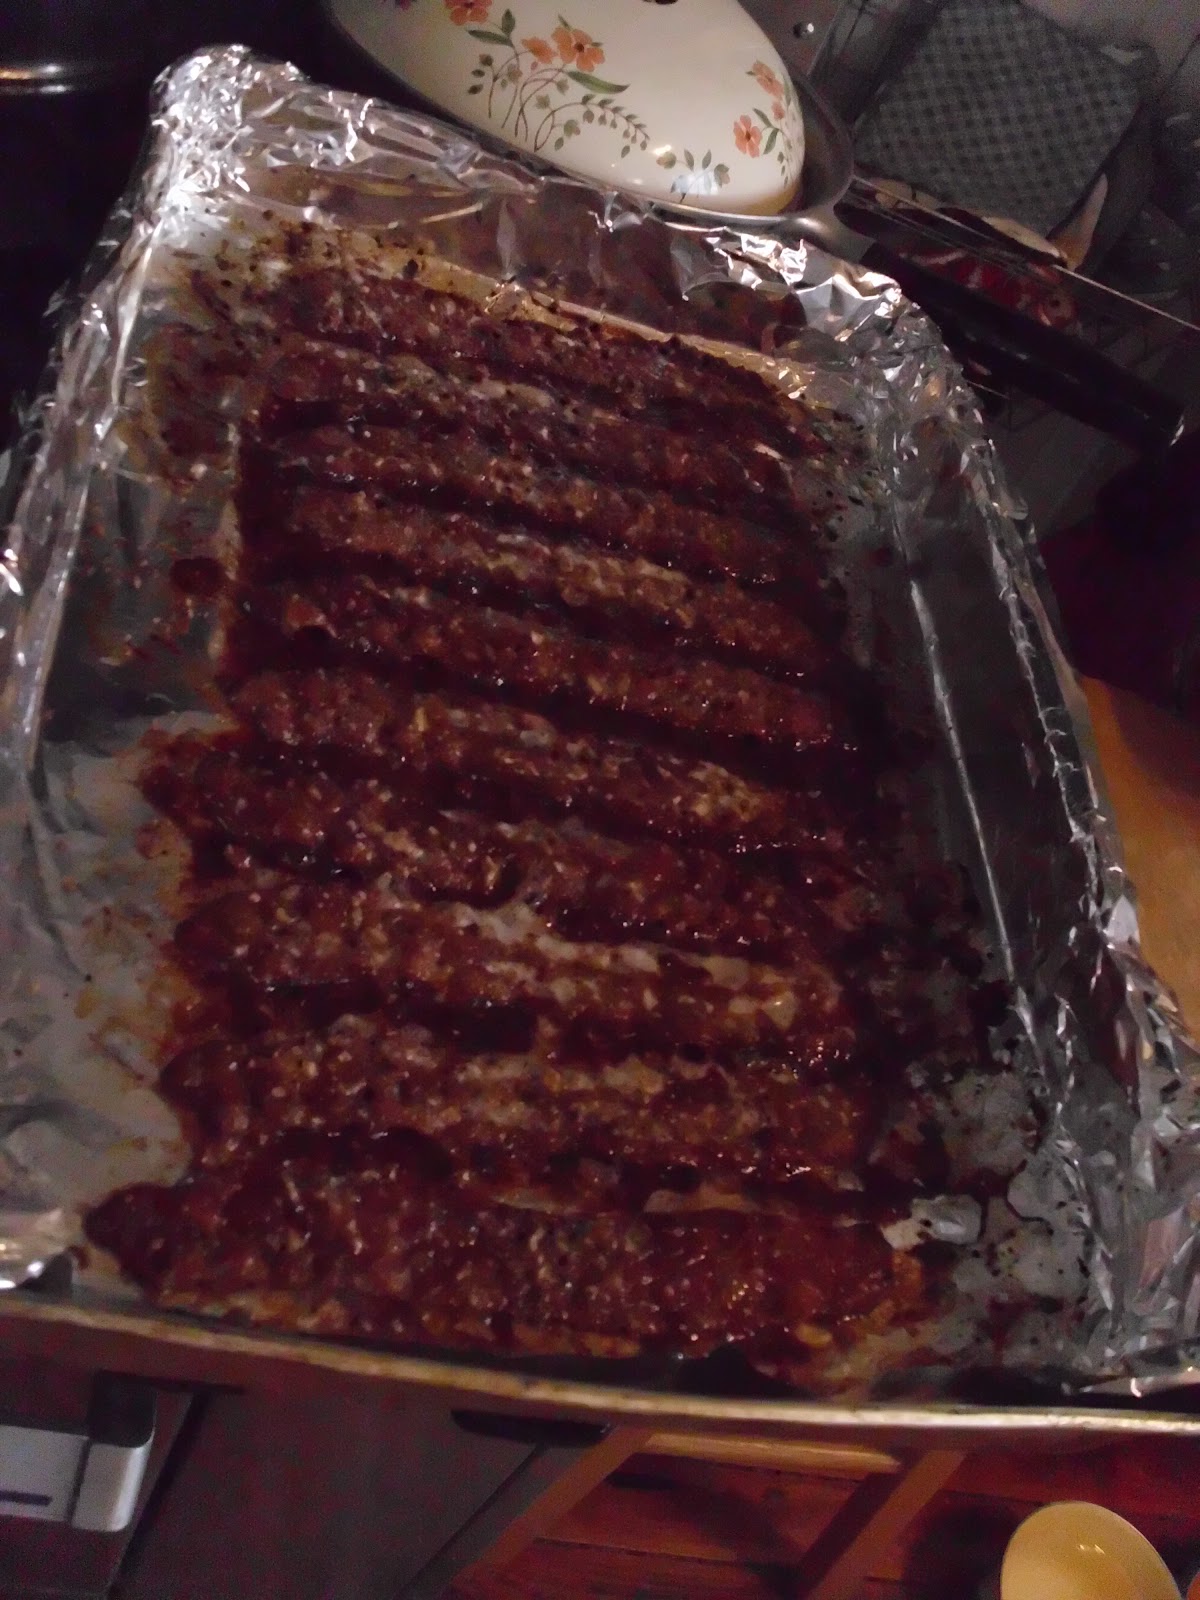
I bought a half-bushel box of Chilton County (Alabama) peaches yesterday, worked on getting them sorted and peeled, sliced, and into various solutions of sugar and spices and **snicker** other things nices.  There were two dozen really unripe peaches, initially intended for a couple of pints of pickled peaches for Brother #3 (he loves them) but the recipe couldn't be found and Google was not forthcoming with any facsimile.
MMMmmmmmmmm...

I looked for a peach salsa recipe to can and couldn't find one suitable.  I thought about processing the unripend fruit into peach slices but that'd be boring and waste of a great opportunity to make something very different than what's normally done with peaches around here.

I started thinking about relishes.  Peach relishes.  Green peach relishes.  Again, nothing could be found. You'd think a gozillion hits would yield at least one recipe, wouldn't you?  It didn't.  The gray matter was settled on a relish so it further spun to remember favorite relishes.  And then it remembered Aunt Judy's ripe tomato relish recipe.  Easy.  Ingredients already on hand.  I made it with two dozen unripe peaches.  It's phenomenally different while being incredibly familiar.  It's a relish suitable for field peas, butter beans, cornbread, and turnip greens.  If you find yourself with an abundance of the not-quite-ripe fruit of the Prunus persica, please oh please do yourself a favor and make this quick relish.

Two dozen medium peaches, not quite ripe, finely chopped (CuisinArt does this wonderfully)
1 very large purple or other sweet onion, finely sliced
1 large bell pepper, finely minced
1 1/2 cups white vinegar
1 teaspoon salt

Combine all ingredients in a non-reactive pot over medium heat until mixture comes to a boil, stirring to prevent sticking.  Turn heat down to low, stirring occasionally, until desired thickness is reached.

On the big stove it took thirty minutes from start to finish.

Can immediately.

I actually water bathed it for another thirty minutes, unusual behavior for me, but when in doubt, it's best to proceed with precaution.

This was the yield:  three pints and three half-cups or three and a half plus
a half cup pints?  Or maybe a half-cup shy of two quarts?  
I confuse myself. This is the entire yield.  I've quadrupled
the tomato relish recipe with no adverse affects so
there's no reason to think this green peach relish can't
be quadrupled.

Y'all enjoy!


Saturday, July 21, 2012

Praline Bacon: Deliciousness to Celebrate Every Breath

It's not my recipe.  I'd stumbled upon it on...well...on stumbleupon one evening several years ago.  NPR's John Burnett says it came from New Orleans and that's probably true:  there's not a single city that does pralines any better.  Praline bacon is a quick side to brunch, a delicious appetizer on a reception table, a late night indulgence when indulgence calls for salty and sweet together.  Or when cholesterol, brown sugar and pecans are craved simultaneously.  Even if you don't eat pork, you may want to fix this for someone that does, if only for the opportunity to be close to it just once.

I'd baked this a day ahead.  Once cooked, the bacon will keep in the 
fridge for a week or so.  I've also prepared it well in advance and frozen it
between sheets of wax paper in the big ziploc bags, the only
adverse affect to it being a slow diminishing of quantity due 
to pilfering by the cook!

The recipe is simple.  Three ingredients:
bacon
brown sugar (two cups or so)
chopped pecans

There are (almost) always roasted chopped pecans in 
the freezer here.  It's handy to have them ready to go
in a cheesecake crust or to add a crunch to chicken salad
or for a pan of praline bacon.

Make the clean-up easy on yourself.  Line a pan with foil and place bacon strips in single thickness in it.

If you don't need the whole pack of bacon praline-ated but despise storing a 
partial pack of it (it seems to get forgotten about until too late 
in the fridge here) go ahead and cook it.

And don't forget to save the grease for the potatoes!

Bake in a preheated oven at 425 Fahrenheit for ten minutes.  In the mean time, put the brown sugar and pecans in one of these big ziplock bags for coating the bacon.  You can throw the mixture in the freezer afterward and have on hand for the next batch of praline bacon.
If you're a lover of bacon, there will be another batch.

Drain off the bacon grease and put all the bacon in the brown sugar/pecan mixture. 

Seal the bag and give it all a good shake, flopping as only bag fulls of bacon can, to make sure all the slices are coated.

Return to the  pan.  I like to sprinkle a few more pecans on top.  You can't ever have too many pecans.

Bake for ten minutes more (or less - remember, the oven here bakes a few degrees cooler) and voila!!!
Praline bacon!

For quality control's sake, go ahead and have a slice of it, 
then quickly put it away if cooking for another day. 
Y'all enjoy!
 

Tuesday, July 17, 2012

Mrs. Mary's Spicy Chocolate Buttermilk Pie

Having a 'fan' page on Facebook for an ongoing commentary on a slice of life in the Deep South has been an incredible blessing.  Folks (much preferred description than fans) come by to say "Hi" and mostly stick around.  A handful leave, the slice of life not always palatable.  It's okay.  I've left a few pages behind, myself.  The people at FB?  They're not fans:  they're friends.  They comment, share links, like photos of cakes, love Mama (a biggie in my book).  We're there for each other like long-lost kissing cousins.

They've become real friends too:  call-up-on-the-phone-and-talk-'til-the-battery-dies friends.  Mrs. Mary is one of those friends.  Weeks and weeks ago we were chatting on FB about favorite pies and the developing trend of fine chocolates with a heat source in them and she piped up with a comment about a chocolate buttermilk pie with a little pop to it;  then she came up with a recipe!

Despite having adhered to a very strict diet for going on four months,
this piece of pie broke extreme will-power as if it
had never existed.  I ate it.  And licked the plate.

It's a little different from the buttermilk pie usually made here.  This recipe has no flour but twice as many eggs.  It does have a smooth but coarse-custard texture (probably from the cocoa powder?) and is ever so bewitching that I'm having a difficult time not evening up the edges on it (a sure way to consume half of it at one sitting).  And the cayenne in it??? ohhhh wowzers.  It's not hot.  It's a warmth that develops on the tongue after the first few bites that makes the chocolate a deep richness that's indescribable.  Really!

Those are the ingredients in the photo but just in case they won't load for you here's a list:
1/2 cup dark chocolate chips, melted
3 tablespoons cocoa powder
1 1/2 cups sugar
1/2 teaspoon salt
6 eggs, beaten until lemony-yellow light
1 1/2 cup buttermilk
1 1/2 teaspoon vanilla (I know - the dry erase board has tablespoon)
1/2 teaspoon cinnamon
1/2 teaspoon cayenne pepper
TWO unbaked deep dish pie shells 

Melt chocolate chips in microwave, set aside (oops - use your imagination to see chocolate chips in the microwave please).

Combine all dry ingredients and stir thoroughly.  
See the vanilla in the medicine dispenser?  They're awesome
for being able to measure flavors in to prevent fumbling with
spoons at the last moment.

And don't forget the cocoa powder to stir in too!  Take extra care to make sure all lumps from the cocoa powder have been broken up and all the dry ingredients are well-mixed.
Most everybody knows dark chocolate is favored here at Mayree's.
This is Hershey's Special Dark Cocoa powder.
Use what you and your family loves.

Beat eggs until a light lemon-ish color and almost foamy.
Any time the hand mixer is out and being used, the mixing gets done
with the bowl down in the sink.  A bunch of wiping from splatters on
the kitchen walls and cabinets is saved by doing this.

Very slowly add dry ingredients until all are well-incorporated.
I ran out of hands to take a photo of the slow process.

It's smelling fine already!
Mix in the melted chocolate chips.

The intense flavor from the dark chocolate chips is called for in this recipe 
but if you really only like milk chocolate or
**shudder** white chocolate, by all means, go for it.

Add the buttermilk

And the vanilla, giving it one last mixing.

Pour into two unbaked deep dish pie shells.
Don't give me a hard time about not making my own crusts:
I don't have to do everything.

Bake at 350 Fahrenheit for approximately 40 minutes (my oven is a little cool so it may take less time) until the centers are set.  A knife will come out clean when they're done.
 These crusts are full.  Do yourself a favor and put them in
another pan to bake them in.  They didn't bake over,
but the possibility is definitely there.

I couldn't wait until they cooled until even warm.  I ate it hot!
 This piece of pie contains more refined sugars in one slice
than I've put in my body since the Fambly Reunion the
first weekend in June.  And it was worth ever
gram of it!

There you have it!

The top has a playful crunchy crust on it that belies the custard-y and densely-chocolate-y richness beneath.  There's the barely tale tell flavor of the traditional buttermilk pie but it's secondary to the chocolate.  And the cayenne and cinnamon?  I used Penzey's Ceylon Cinnamon but wish I had used their Vietnamese cinnamon to give a stronger presence.  The cayenne is just the right amount.  This small amount isn't hot at all, truly enriching the dark chocolate and leaving a warmth on the tongue that's absolutely exquisite.

This isn't a difficult pie to put together at and the recipe makes TWO (a bonus in my book).  Make your family one this evening.  Better yet, make yourself one this evening.   You'll be glad you did.

Y'all enjoy!
Mary


Thursday, July 12, 2012

I Think the Dentist Etched My Skull

If there was a single fact you had to know about me it should be this one:  Going to the dentist causes major consternation.  I had to go today for the start of a root canal, the appointment having been scheduled a few weeks ago.  The visit kind of crept up on me.  Bekah had called to confirm the appointment Tuesday but that was two days ago with Wednesday in between.  Lots can happen in two days time to make a soul forget something like a root canal.

At noon-thirty the Danger Ranger was cranked and driven to Williams' Drive to sever an arm at the elbow to pay for the procedure and then be forced to endure infliction of pain from unseen devices try to enjoy the nitrous oxide while all manner of activity was going on in my oral orifice.

Nitrous Oxide, N2O, is what's used to coerce myself to go to the dentist.  Not only is it a mild anesthetic, it also incites this gray matter to see, hear, and think the funniest things.  A pen and pad should be carried to try to write down the silliness but it'd be moot point;  the scribblings probably couldn't be read.

Today was only slightly different from other days in the vertically and laterally challenged recliner o'fear dentist chair.  There was less drilling and more clamping and poking and bleaching going on.  I swear, at one point Dr. R  was recreating-by-etching Michelangelo's Last Judgement inside my skull.

Dr. R and his assistant have their own language, you know.  Some of it's in English, I'm sure.  Today I'm positive I heard the word probe.  It made me shudder.  And explorer.  Now wait a minute!  Isn't to probe also to explore?  Is one a lesser of the other?  Worse yet, is one greater than the other?  And if I were a betting person, I'd bet I'd heard Dr. R say crampon.  I wouldn't put it past him -- all the better to climb on in there with, although it caught my attention when he said piton.  Piton?  Seriously???  He's going mountain climbing in my mouth??

I desperately needed to carry on a telepathic conversation with his tummy but it's right after lunch and his tummy's asleep.  At one point Dr. R shaved a piece of rebar from the foundation of the building and shoved it between two teeth straight into an eye socket inserted a metal sheath of some sort within the tooth to support the structure and make it savable.  I don't know exactly what happened but  I heard metal and cyborg all in the same sentence.  Whatever he did made my ears pop and eyes water.  I made it a point thereafter to keep my eyes open and observing, just to make sure he was watching what he was doing.

I suppose he must've felt an intense stare coming up from the multi-positional chaise lounge o' torture treatment chair.  There weren't any more sudden and severe moments of pain after I started watching, difficult when the line of sight is hindered by the N2O line (but it's not going annnnnywhere).  Tools and materials are handled quickly and effectively as the work progresses.  I forgot to watch him watch what he was doing after a while, distracted by a single lacy cobweb over the door in the corner, it's size only large enough to show air movement.

After hearing a few more words like bleach, collar, crouton, and suction, a few x-rays were made, everything was taken out of my mouth and the nitrous oxide was switched to plain O2.

Much to my delight and surprise, all of the inside of my mouth is still there;  every tooth and tongue accounted for and in fine working order.

That piton must've worked wonders...


Friday, July 6, 2012

Blueberry Fig Jam

There's an abundance of figs in the Deep South of (almost) Coastal Mississippi this year.  Everybody that has a good-sized tree has shared and shared some more with Mama and me.  She makes fig preserves with most of hers, saving enough for a batch of strawberry figs.  I'm not particularly fond of fig preserves, having eaten enough for a lifetime before Hurricane Frederick came along and took out our tree that was large enough for an adult to climb in.

There's also been a profusion of blueberries the entire spring stretching into full-blown summer.  Hopefully the last picking of the rabbit's eye berries will be completed tomorrow just in time to start picking the older cultivar of smaller blacker blueberries with less seed and more flavor (a lemon blueberry jelly recipe is also slowly evolving, since there's no shortage of the small yummylicious berries).

Finding a recipe to combine the two tasty fruits into one jam occupied several hours on Google Wednesday evening.  No single recipe tingled the taste buds with imaginative delight though, so several were combined and refined to develop one.  I even left out a few ingredients like gingered honey at the last minute 'cause the resultant jam was already deliciously flavored and needed nothing more.

Easy to assemble with non-foreign ingredients i.e. ones not found at WalMart or Piggly Wiggly, relatively quick cooking, and the tastiest thing in a jelly jar since the vanilla bean pear jelly, here's a delightful recipe for

Blueberry Fig Jam

8 cups ripe figs, stemmed
3 cups blueberries, smashed a little
5 cups granulated sugar
1 box SureJel (optional)
1/4 cup fresh lemon juice
Zest from one lemon

Place all ingredients in a non-reactive pan and let sit for several hours.  The process of drawing juice can be sped up somewhat if everything is gently stirred enough for the sugar to reach to the bottom.  Mama puts her figs in sugar late at night, letting them draw juice until the morning when she starts cooking them.  If the figs and blueberries are ripe, though, they'll get watery pretty quick.

Cook on low to medium heat, stirring often to prevent scorching (ewwwww - nasty) until figs have cooked clear and jam has reduced to desired consistency.

Ladle into sterile jars and seal.  Lots of folks water bath their jams and jellies.  Mama and I never have but that's just us.  The USDA recommends it to be safe.

Makes 5 1/2 pints.

The SureJel absolutely is optional.  Blueberries have a high amount of natural pectin so it's not  necessary.  I like to use it for the extra bit of jelling assurance, though.

Y'all enjoy!  It's yyyyyummy and just one more way to have figs (and blueberries) preserved in the pantry!

Tuesday, July 3, 2012

Sweet Pickle Sticks: Remembering Mr. Joe and Mrs. Ila Maude

Mr. Joe and Mrs. Ila Maude Carpenter lived up on the little hill above Aunt Selma and Uncle Sherman.  They were an ancient couple to a child, living well into their 80's (Mrs. Ila Maude lived into her 90's).   They were, reaching back through a youngster's memory, the little old couple that loved friends and family, loved to garden, and loved each other.  There was never a cross word uttered, each waiting on the other's needs with the sweetness of genuine affection that defies time.  They were slim, both wrinkled with care and age;  both stooped with years of work;  fixtures of the community as kind as the day is long, living long years in the little white house on the hill.

They used to buy whole milk and yard eggs from Mama.  Mama had her pet milk cow, Bossie, a black Angus of all breeds, that'd give two to three gallons of cream-rich sweet milk a day - more than enough for the bunch of us to eat everything with an abundance of real butter and clotted cream.   And yep - it's another story for another day.

Annnnyways...  More often than not, Mr. Joe'd come in the back door with a jar of something or another he and Mrs. Ila Maude had made:  strawberry figs, pickled okra, pickled banana peppers, or these sweet pickle sticks.

Tart, tangy, and sweet, loaded with flavor from the turmeric, mustard seed, and celery seed, I used to love them.  Lately I've had a hankering from them.  With a gift of over five gallons of cucumbers too large for pickles,  I decided to make them for the first time in roughly twenty-five years.  I had Mama dig out the Carpenter's recipe, not trusting memory enough to look for a similar one online.
This is roughly half of the cucumbers.  See how big they are?  
They're too large for 14 day sweet pickles and I didn't want
to make relish or mock spiced apple rings.
It's a good recipe to use those cucumbers that stayed on the vine three or four days beyond when they needed to be picked.

The pickles take two days to make and need to set (sit?) a week before opening and enjoying.  Y'all ready?

Wash, peel, deseed, and slice cucumbers into half inch strips.  I sliced a few of them thinner and wished I hadn't.  They were limp after the first night.

Don't forget to save the waste for the compost pile or your mama's chickens.  Or your chickens.
They'll cluck in delight you've afforded them this kindness.

Boil enough water to cover cucumber strips by an inch.
I didn't want to crank up the stove twice so I made sure there was
plenty of boiling water to cover them the first time.

Cover with boiling water, weighing cucumbers down, and let sit (set?) overnight or at least 8 to 10 hours.

Heavy porcelain on steel pot lids work great for pressing the
cucumbers under the boiling water and keeping them there.

I let mine set (sit?) overnight.  And most of the day, too, since Favorite Child is coming back in and a certain residence at Pine Level required cleaning.  Pour off water and let strips thoroughly drain.
**giggle** I almost forgot to get the pic, not that y'all need it to know
how to drain something.

Pack strips into clean, sterile jars.  Since these aren't going into the pressure canner I've used glass mayo jars.

Mama doesn't remember adding the turmeric directly into the jar.  I didn't tell her her memory was faulty, finding more and more hiatuses in my own lately than is comfortable.  I added a heaping teaspoon of turmeric to each quart jar - use 1/2 heaped teaspoon for a pint jar.
See?  I told you they were mayo jars.

In a non-reactive pot combine vinegar, sugar, salt, celery seed and mustard seed.  Bring to rolling boil, turn down a bit, and let cook for five minutes.

Pour over packed cucumber sticks, wipe rims, and seal jars.
See those socks in the corner of the pic?  I've repurposed stretched
hole-y socks into something beyond rags.  I'll show you!
Tadadaaaa!  The canner rack has been gone way long
time ago.  Old socks work GREAT for keeping the jars safe.
Water bath for thirty minutes.
Really.  I think the socks work better 'cause the jars are actually
cushioned and not bumping against the wire rack.

Tadadaaaaa!  Let them sit (set?) a week, open a jar and enjoy the complex flavor that these pickles are.

Sweet Pickle Strips Recipe (exactly as Mr. Joe wrote down for Mama)
Ten pounds cucumbers, peeled, deseeded, and cut into strips

Pour boiling water over and let stand overnight or 8 to 10 hours.

Pour off and drain.

Pack solid in jars.

In a porcelain pot, combine and boil for five minutes
3 1/4 cup vinegar
3 cups sugar
3 tablespoons salt
4 1/2 teaspoons turmeric
4 1/2 teaspoons celery seeds
4 1/2 teaspoons mustard seeds.

Pour over cucumbers in jars and seal.
Makes six pints
--------------
Since I had a lot more cucumbers than that I tripled everything but it's not rocket science by any means.  Double or triple as needed.   Y'all enjoy and have a Happy Fourth of July!

<3 Mary